

Turn a piece of dated decor into a concrete garden statue with a little cement skim coat.

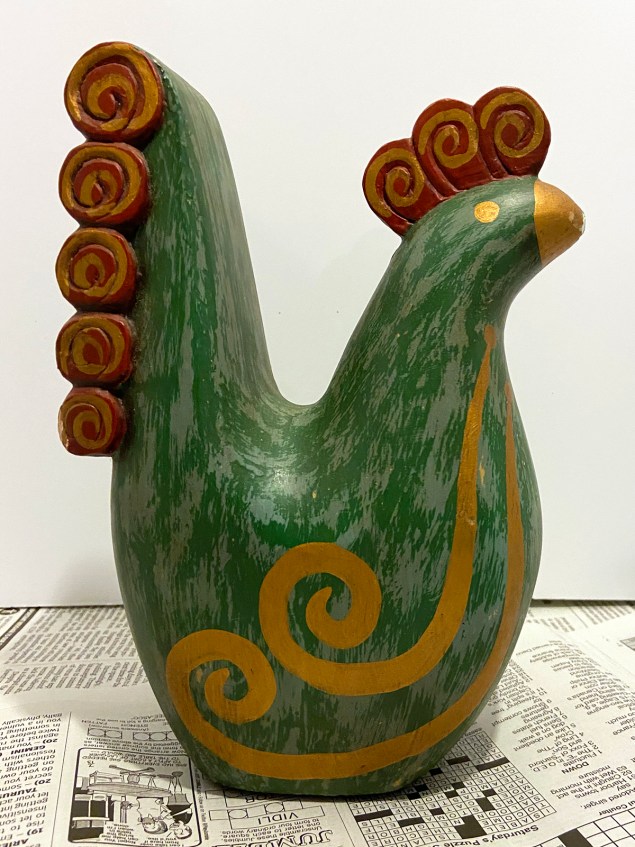
That’s what I did with this guy. Underneath the concrete, he’s a paper mache chicken. I bought him at a thrift store where you pay by the pound, and since he’s feather light, he barely cost me anything.
Materials for a DIY concrete garden statue
Here’s the list of the materials I used to make my DIY concrete garden statue:
- Paper mache chicken
- TEC PerfectFinish Skim Coat
- Water
- Disposable container
- Popsicle stick or paint stick
- Latex gloves
- Two metal disks (for eyes)
- Sandpaper
- Clear furniture wax
The skim coat
I used TEC PerfectFinish Skim Coat for cement. In the past I’ve used Henry FeatherFinish for similar projects, like my concrete pumpkins. The only reason I switched brands was because I went to Menard’s this time instead of Home Depot, and the two stores sell different product lines.

I didn’t notice any difference between the two brands. They’re both super simple to use. You just add water to the product and stir.

I used my fingers to spread the cement onto the chicken.

This was a messy job, so I wore latex gloves. (I don’t mind getting dirty, but I didn’t want to clog my drain with cement when I washed my hands afterward.)

Here’s what my chicken looked like after I had him all coated:

And here’s what he looked like after the cement had hardened:

Sanding and a second coat
The chicken ended up with a lot of bumps and ridges on him, so I sanded him with 120-grit sandpaper.

Unfortunately my skim coat was pretty thin, so there were parts where I sanded right through to the paper mache.

To cover those areas, I mixed up a second coat of cement and smoothed it on.

I concentrated on the bare spots but spread the cement out over the entire chicken. I also dipped my fingers in water and ran them over any ridges to get the coating as smooth as possible.

Next, I grabbed a couple of small metal disks …

… and pressed them onto the chicken’s face where his eyes would be.

Here’s what he looked like after the second coat had hardened and his eyes had dried into the concrete:

I decided his eyes should be black, so I painted the disks with some acrylic craft point at this point. Then I gave him another light sanding.

Adding a coat of wax
Finally, I gave him a clear coat of furniture wax. I’m not sure if concrete needs a protective coating. My thought was that since I would be handling him occasionally, the wax would prevent the oil from my hands from causing any discoloration.

The wax made him really dark at first.

As it was absorbed, his color lightened up. The picture below was taken about 10 minutes after I had applied the wax. You can see there are just a few patches where the wax hadn’t soaked in yet.

After the wax was all absorbed, I did a light buffing and called him done. The wax made the concrete really smooth to the touch.
The completed DIY concrete garden statue

The white streaks in the concrete are where wax had settled. I could have wiped it off with a Q-tip or scraped it off with my fingernail, but I liked the color variation, so I left it. In fact, I even toyed with the idea of adding a coat of white wax to make the variation more pronounced, but in the end, I decided I liked him just as he was.

I have my chicken sitting among the plants inside my screen porch, so he’s mostly protected from the elements. I’m not sure how well he’d do outdoors in the wind and the rain.
What do you think? Have you ever skim coated anything in concrete? And if so, does it hold up to the elements? Let me know in the comments below.
— Lisa
He is awesome!
Never done skim coat but you make me want to try it on something.
Keep on “project”ing – they’re inspirational.
Thanks, Diane. 🙂
Adorable!!
Tania
Wow what a transformation! Thanks so much for sharing it at Farmhouse Friday!
WOW!!!!!! He looks amazing. I would never have thought he started out as a little green paper mache chicken.