

Concrete pumpkins have been on my “To DIY” list for a couple years, but I kept putting the project off because Practical Lisa couldn’t justify buying a big ole 50-pound bag of concrete mix just so Creative Lisa could make a couple of decorative pumpkins.

Over the summer, I stumbled upon a solution to my conundrum: Henry FeatherFinish Underlayment Patch and Skimcoat.

Technically the product — which is sold in small 7-pound boxes — is designed for patching and repairing subfloors. But a few DIY’ers who I follow online had applied it to their laminate countertops to make them look like solid concrete.
I figured if it worked for countertops, it would work for pumpkins, too, right? I was willing to at least test my theory and find out.
Materials and supplies
Here’s a list of supplies and materials I used to make my easy concrete pumpkins:
- Styrofoam pumpkins
- Henry FeatherFinish Skimcoat*
- Two small plastic buckets (one to mix the skimcoat in; another for water)
- Paint stick
- Paper towels (for cleanup)
- 120-grit sandpaper
- Thick wire (if your pumpkins don’t have stems)
- Jute twine
- Clear craft glue
- Markers (to wrap twine around)
*I got my box of skimcoat at Home Depot. (Word to the wise: If you’re looking for it in the store, it’s in the flooring aisle, not the cement aisle.)
Making easy concrete pumpkins

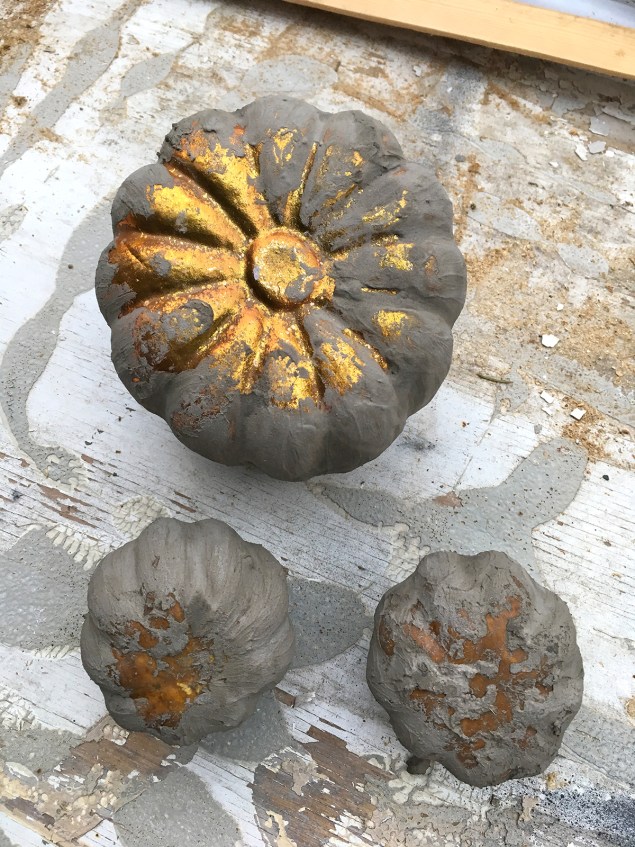
Here are the three pumpkins I started with for this project. All three were thrift store finds. I really didn’t care what they looked like as long as they had an overall pumpkin-y shape.

Before I could start skimcoating, I had to rip off the extraneous leaves and whatnot, and part of the pumpkins’ plastic covering came off too. No worries. I figured I could smooth over the mess I had created with the skimcoat.

Next, I grabbed some heavy wire from my husband’s workshop and cut off a couple of small pieces to serve as stems for the pumpkins that didn’t have them.

I popped the new stems in place. Then I was ready to mix the skimcoat.
Mixing the skimcoat

I did this part of the project outside because it’s kind of messy.
The directions say to mix two parts powder to one part water, so I put a cup of powder in a plastic bucket and added half a cup of water. Turns out, this made about twice as much skimcoat as I needed for three pumpkins.

I mixed the ingredients with an old paint stirring stick. The skimcoat was about the consistency of frosting.
It spread a lot like frosting, too. I didn’t use a knife though.

I scooped the skimcoat up in my hands and spread it on with my fingers. Yes, it’s messy. But I had to be able to mold the skimcoat to the curves of the pumpkin, and fingers seemed like the best tool for the job.

You might want to wear rubber gloves if you try this. Otherwise plan to rinse your hands in a bucket of water or spray them off with your garden hose when you’re done. (You don’t want to wash the residue down your your kitchen drain. It will harden in your pipes if you do.)
I still had a bunch of skimcoat left over once I had my three pumpkins coated, so, after cleaning up my hands, I dashed back into my house and dug through my stash of fall decorations in search of additional Styrofoam pumpkins.
Luckily, I had two more tucked away in my basement, and I made it back outside before the leftover skimcoat had hardened in the bucket.
Smoothing the skimcoat

Once I got skimcoat on the two late additions, I dipped my fingers in water and started smoothing out the lumps and bumps on the surfaces of all five pumpkins.

The smoother the skimcoat is when it’s wet, the less sanding you’ll have to do when it’s dry.
Obviously, I couldn’t coat an entire pumpkin at one time because I needed to be able to set it down on my work table while I was applying the goo. I just covered as much area as I could, working from the top down.

Here are what my pumpkins looked like as they started to dry. The lighter grey areas are dry; the darker areas are still wet.
I took a break at this point and let the pumpkins dry for a couple hours. I probably wouldn’t have had to wait that long — the box said the product dries in as little as 15 minutes — but I had other things to do.
When I came back outside, I flipped the pumpkins over, mixed up a much smaller batch of skimcoat and coated the bottoms, following the same process as before.

I tried to blend the wet skimcoat with the dried portion as seamlessly as possible, so there wasn’t a noticeable line between the two halves.

When the bottoms dried, I sanded off all the ridges and highpoints, using 120 grit sandpaper.

Here’s how my pumpkins looked once I was done sanding.
Creating stems and vines
With the concrete work done, I moved on to the stems and vines. I used jute twine and some clear gel glue that I had in my crafts stash for this.

To cover the wire stems, I adhered the end of the twine to the bottom of the stem. Then I wound the twine up the stem and back down again.
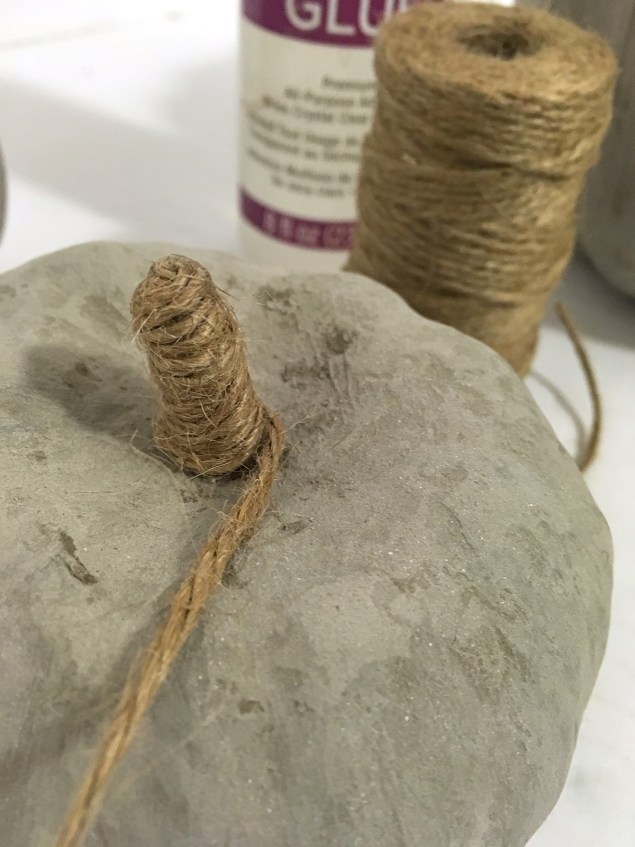
When I had the stem all covered, I dabbed a bit of glue onto the other end of the twine and tucked it under.

To make vines, I dipped the end of a marker into glue and then wrapped twine around the marker.

I let the glue set up for a few minutes — long enough for the coils to be a bit stiff, but short enough that they would still slide off the markers.
Then I pulled the coils apart to loosen them up and give them a more natural shape.

Finally, I looped the vines around the pumpkin stems and moved them around until I was happy with how they looked.

Honestly, you’d never know these pumpkins were not solid concrete, until you tried to lift one. They are light as a feather, which should make it easy to carry them around and store them in the off-season.

I’m very happy with how they turned out. In fact, I’m tempted to go and skimcoat all of my faux pumpkins now.

What do you think? Leave a comment. I love to hear from readers. And if you like this post, please share it on social media and pin my photos on Pinterest. Thanks!
— Lisa
Love the idea! Never seen anything like this before.
Thank you! It was a fun experiment. I’m happy it worked!
They look amazing. I would never have thought that they weren’t the real thing
Thanks! They’re definitely the best of both worlds: the look of concrete, but the weight of Styrofoam.
Love,can’t wait to give it a try
Now these are my kind of concrete pumpkins! Easy to make and not heavy like the real thing. Pinned 🙂
I really love these! If you wanted to put these in an outdoor venue, would you need to clear coat the or something?
That’s a good question. Unfortunately I don’t have an answer for you. I never even considered putting my pumpkins outside because they’re so lightweight they’d blow away in a gust of wind. Sorry I couldn’t be more helpful.
Really great idea – the colors of the pumpkins look different – did you add any colorant to the concrete, or use any paint on them? If not, how did you get the variations in shading? They look amazing.
thanks.
No colorant. No paint. The variation in the shading is all from sanding. The dark grey was the color of the concrete when it dried. But as I sanded, the light grey was revealed underneath.
These look great! I’ve made cement pumpkins, filling panthose. & tying with cord for the ribs.I use dried stems from the previous years pumpkins glued to the top along with some moss in the cracks. Yours would be much lighter!! Thanks for sharing
These look great! Trying to come up with ideas for garden club. Have seen old wicker baskets dipped in concrete to be used outside. I wonder if this would work as well and wouldn’t be so heavy. Great instructions!